Rendering is an important business tool used in marketing, presentations, and visualization of various projects. Photorealistic and animated images that are rendered require different techniques, depending on the quality requirements of the product, the time to implement it, and the size of the budget. But how do you determine which rendering method is best suited for you?
In this article, we’ll walk you through the best rendering techniques and the pros and cons of each. In addition, you will learn helpful tips to improve your 3D rendering and find a company providing 3D modeling services for your needs.
The Main Types of Rendering Techniques
Before embarking on a project, it is best to establish the main goals and conditions for the renders. You can also look at different 3D rendering techniques to choose one that best suits your needs.
Scanline
This method is one of the traditional rendering techniques. The essence of the scanline technique is the algorithm for calculating the surface of computer graphics. In simple terms, the algorithm scans the top row of y-coordinates of each poly (polygonal shapes that make up the model in polygonal modeling) of a 3D object. Further, digital information (color, texture, effects) is read from each poly and converted into a 2D image.
Thus, the poly vertices are sorted, during which the upper corners form the render, and the rest complement the image as each following coordinate axis increases and is recalculated. This process takes place in real time, thereby reducing the download time of the digital render.
Pros:
- Optimal storage requirements
- Time-effective process
- Availability of the necessary tools in standard software
Cons:
- The algorithm is difficult to customize
Z-Buffer
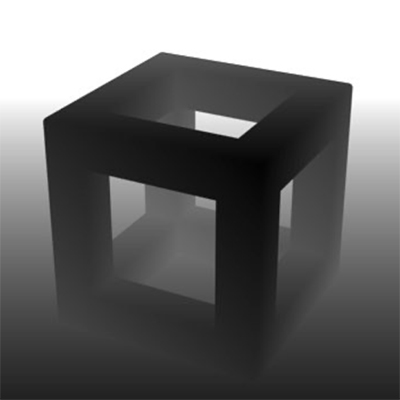
Z-Buffer is a two-dimensional data system used to compute, optimize, and store the depth value of each pixel. For example, when creating a render, the algorithm converts the 3D object into an image pixel by pixel, using the pixels closest to the camera first. In this case, the value of the pixel’s distance is stored in a Z-Buffer cell.
The primary purpose of this technique is to convey information about the distance of several rendered objects from each other and the camera/viewer. Z-Buffer is often used in conjunction with the Depth of Field (DoF) effect found in the toolbar of many software such as 3DS Max. This function creates the natural blurring of the object’s background and sharpens the rendered object itself.
Pros:
- Sorting algorithm
- Developer-friendly software
- Time-effective process
- High-quality natural effects
Cons:
- Lots of storage space is needed
Shading and Lighting
The shading process manipulates light and dark levels using software effects. In this way, the rendering artist adds a natural effect and makes objects appear more voluminous. For example, flat shading can sharpen the corners of an object. You can also use fading to create a subtle transition between the pixels and polygons of a shape.
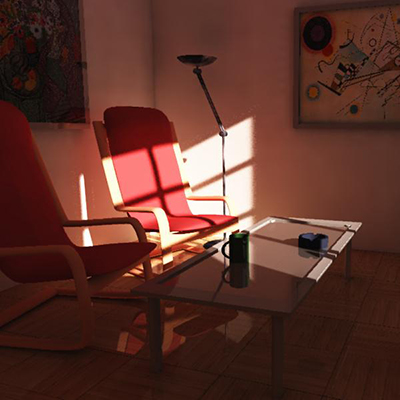
Lighting performs the same function as shading — it makes the scene more natural and voluminous. For example, you can use artificial or daylight, depending on the setting of a render. You can add volumetric lighting effects, such as how the sun’s rays seep through a window or split with the volumetric lighting type. Another method is refraction, which allows light rays to bend on translucent surfaces.
Pros:
- High-quality natural effects
- High level of details
- The life-like volume of an object
Cons:
- Strong technical requirements
Texture/Bump Mapping
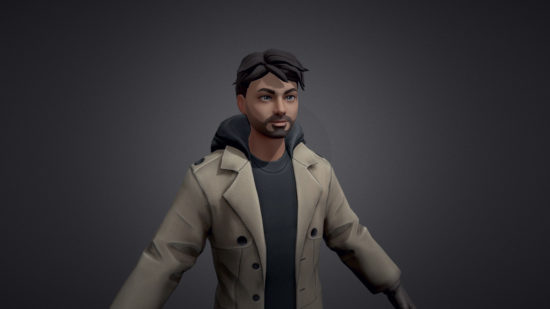
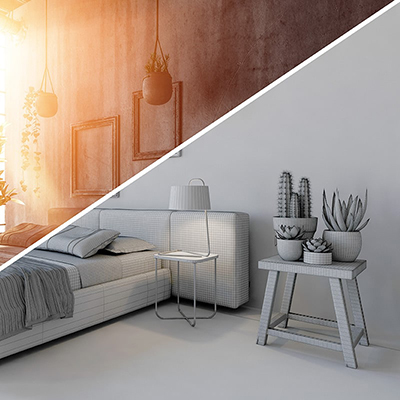
The texture is the top layer of a 3D model, which displays information about the color, material, and details of the object. Typically, a texture has multiple layers and wraps a model like wrapping paper. During rendering, information about 3D textures is converted into a flat image. This requires the texture mapping technique — transforming the vectors of the 3D model and its texture into pixels using unwrapping a model.
Bump mapping is similar to texture mapping in its principle; only the first is responsible for rendering 3D relief. This means that on a 2D image, various bulges should look three-dimensional. Bump mapping is not only an imitation of bumps but also the transfer of related details. For example, if you are rendering an image of rocks or landscapes, you need to transfer not only the relief but also cracks, cliffs, etc.
Pros:
- Can be rendered in standard engines
- Makes an object looks photorealistic
- Allows you to use fewer polygons in modeling
Cons:
- Can be less realistic when zooming in
Ray Tracing and Ray Casting

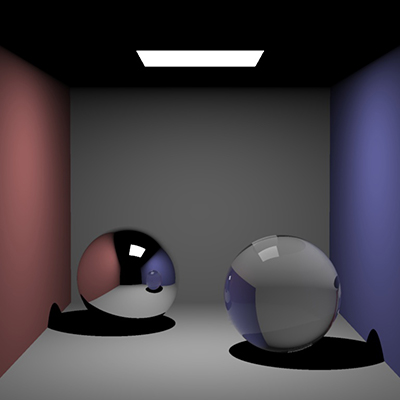
One technique for working with lighting and a helpful rendering technique is ray tracing. With it, you can set up a very natural lighting effect that mimics how natural lighting works. For example, this method adjusts light based on the principle of diffusion (refraction of a light beam) and reflection, and also uses effects such as soft shadows. Usually, this method is applied for commercial purposes.
Pros:
- Achievement of realism
- Possible to store on disks
- Handles specular lighting well
Cons:
- Complex algorithm
- Time-consuming
Ray tracing is rarely used in real-time rendering instead of ray casting. Ray casting is the second method of simulating natural light, generally considered easier to achieve. Thus, the scene is rendered with ray intersection. In this case, the artists do not use light refraction and other natural effects. This method takes less time, but the result is less natural.
Pros:
- Applicable to flat surfaces
- Lighter hardware load
- More time-effective
Cons:
- Lower quality and level of detail
Radiosity
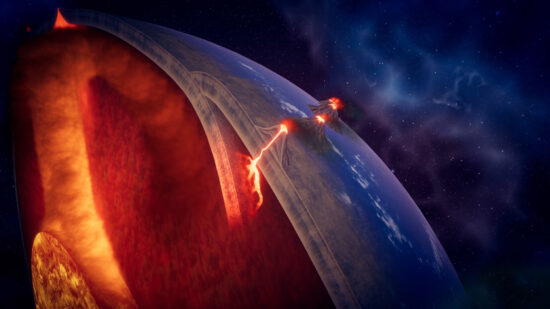
Radiosity is a method of rendering using lighting that comes not only from the light source but also the objects in the scene that reflect the light. Using the radiosity algorithm, the light emission is calculated so that rays of light from their sources are scattered over the rendered objects and, colliding with their surface, break into smaller particles, thereby spreading light throughout the scene. Thus, the render looks very photorealistic.
Pros:
- More physically accurate
- Each object’s surface is covered
- Realistic light effects
- Allows for diffuse interreflection
Cons:
- Challenging to visualize
Need a top-notch render design? We can help
5 Helpful Tips to Make 3D Rendering Better
Regardless of how complex and detailed the rendering design you choose is, you can always apply some helpful tips to make this process even more accessible and efficient.
-
Pay attention to the camera angle. When working on rendering, you probably want to make it photorealistic. In this regard, the natural position of the camera can help — the angle from which the viewer will see the image. It is better to imagine taking a real photo and finding references, and simulating the camera’s position in actual photographs.
-
Use natural effects. As you already understood from the descriptions of various rendering techniques, setting up lighting and shading is a rather laborious process. Unfortunately, if you decide to skip these rendering steps, the result will likely look unnatural and unconvincing. Therefore, it is best to ensure that the artist uses the main natural effects.
-
Scale objects proportionally. It is best not to adjust the scale of the models in the scene without examining how the different things are truly proportional to each other. Try to study as many references as possible or calculate the scale of the necessary objects in a 2D image, as well as their ratio to other things.
-
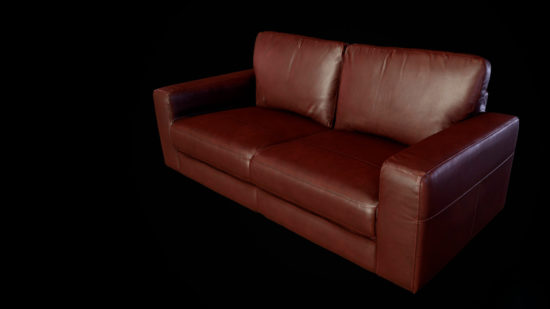
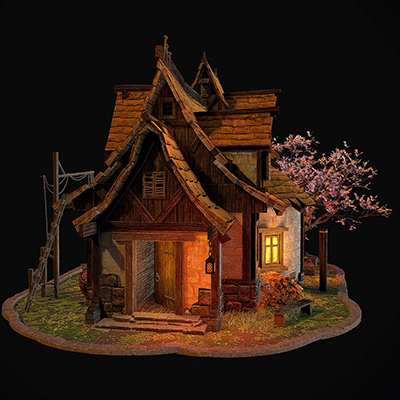
Details matter. Remember to pay attention to detail and scene composition. Imagine you are working on a photorealistic rendering of an interior design. In this case, it is not enough to simply make a room and arrange furniture around it. Try adding flowerpots, magazines, lamps, figurines, candles, and other decorative elements.
-
Chamfer the edges. Many artists use sharp edges in renderings rarely seen in real life. Even architectural rendering techniques often include rounding off sharp corners since shapes with rounded corners reflect light even better. Fortunately, you can easily customize this feature in many rendering applications.
See how our team achieved realistic reflections and lighting effects in this Unreal Engine 5.5 demo.
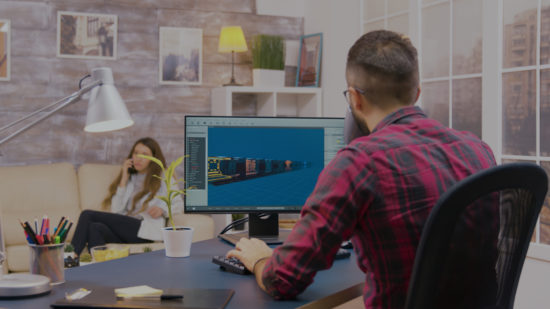
How to Outsource the Rendering Process to Pros
Summing up, we can say that producing a high-quality render can be quite a challenge without special knowledge and skills. To make the process as pain-free as possible, you do not have to look for a freelancer or hire an in-house specialist. It is always easier to outsource this task to a reliable design company.
3D-Ace is a studio with years of experience in 2D and 3D design and related services: rendering, texturing, skinning, rigging, lighting, and much more. In addition, we create content to launch on any platform: mobile devices, PCs, consoles, VR headsets.
If you need rendering or any other 2D/3D service, contact us, and let’s discuss your project’s details!