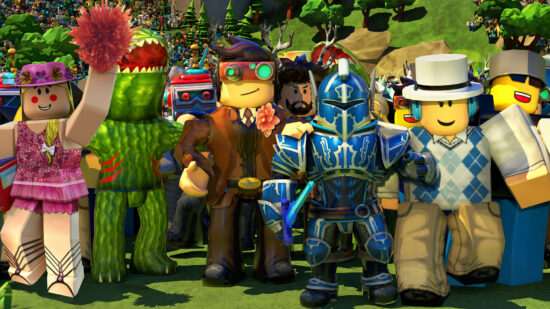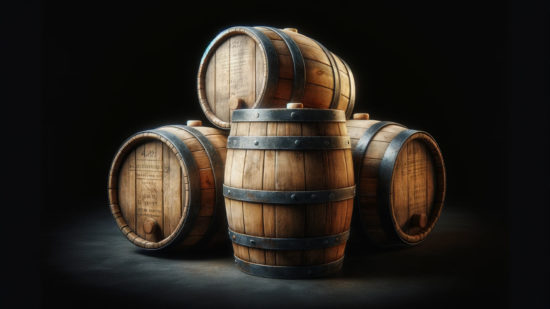
One of the vital stages of 3D development is modeling, which means building models of characters, animals, and assets in games, animations, and apps. So what’s the most crucial thing in 3D modeling? Of course, models must be detailed, but it’s not enough to ensure high quality. You also have to make them look natural and attractive, and texturing is key to this.
In this article, you’ll learn what texturing is, master the basics of 3D model texturing, and get the scoop on where to get 3D texturing services for your project. Ready to learn how to change your project for the better? Let’s get on with it.
Looking for texturing services? Our team will be happy to help you with any questions you have.
What is Texturing?
Texturing is the process of creating textures for 3D models and materials. A texture is essentially a characteristic of a model’s surface, wrapping around it and making it look real. A material somewhat different, being a finished cover containing multiple layers of texture maps — a colormap, detail texture, lightmap, roughness map, and so on.
Before you start texturing, it’s better to decide what type of material and 3D texture to use.
Types of material:
-
Basic material. This is a smooth material made using just color and convex. It’s a good basis for texturing to achieve the realistic look of an object. It can also be used in game design if an item doesn’t require any interactions with characters and fits into a game environment.
-
PBR material. Physically-based rendering (PBR) material is textured enough to look natural. To achieve this result, artists use color, albedo (light reflection effect), roughness, and bump map textures. All of these features complement the material to match its desired appearance.
Types of 3D texturing:
-
Solid texturing. In three-dimensional space, color variations are adjusted at each point of the model instead of overlaying two-dimensional textures one on one. As a result, color and gloss change depending on their position on the map.
-
Geometric texturing. In this case, real images can be superimposed on the surface of the 3D object. In addition, the texture is adjusted by changing the geometry of the object’s surface.
If you’re going to make your model look realistic, it’s better to take different types of textures and materials into account at each stage of texturing.
Stages of Texturing
Textures are 2D in format, but texturing only begins with the creation of a 3D model. The model is analyzed, and followed by several steps of texture design. Let’s take a look at the main stages of standard texturing.
UV Unwrapping
The texturing process should start with the unwrapping of a complete 3D model. Such a flat display of the model is called a UV map, where U and V are the coordinate axes of two-dimensional space, in contrast to the 3D model, which is displayed as X, Y, and Z.
So, when you unwrap your 3D model to a UV map, it’s easier to edit each part of this model separately in order for it to fit a 3D format. You can use photoshop for 3D UV mapping or any other software that meets your needs.
![]()
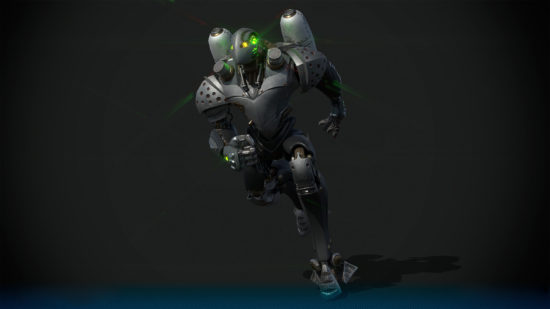
Texture painting and shading
3D texture painting is the process of adding texture details to a model using digital paint. Texturing is performed on the surface of a 3D model, which is rotated in the process to study which parts of the figure need additional work. This way, the artist sees areas that need improvement that are not visible on a flat map.
Texture shading is the process of creating the relief and volume of an object. Often, mountains, ridges, and landscapes are textured using this method to visually emphasize bulges and elevation transitions.
Texture shading is the process of creating the relief and volume of an object. Often, mountains, ridges, and landscapes are textured using this method to visually emphasize bulges and elevation transitions.
Oftentimes, artists will also use a technique known as texture sampling. It is achieved when the texture structure of the model is read through the GPU (Graphics Processing Unit) using the colors of nearby texels. This sample then helps create a harmonious and natural shade in the larger picture.
![]()
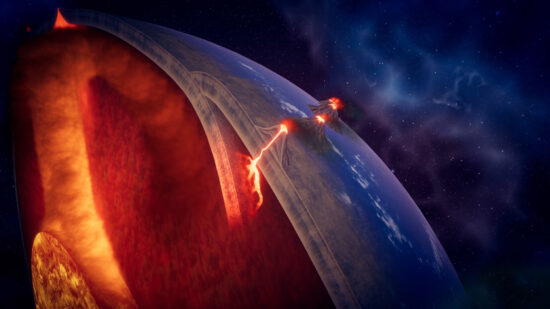
Lighting & Rendering
The goal of 3D texture rendering is to create lifelike graphics with ambient lighting, which means natural light that forms with the environment. The characters and assets of the game are often located in different surroundings, each with specific lighting.
To superimpose relevant lighting, artists visualize all external information from the setting into a flat image and superimpose it on a 3D model.
![]()
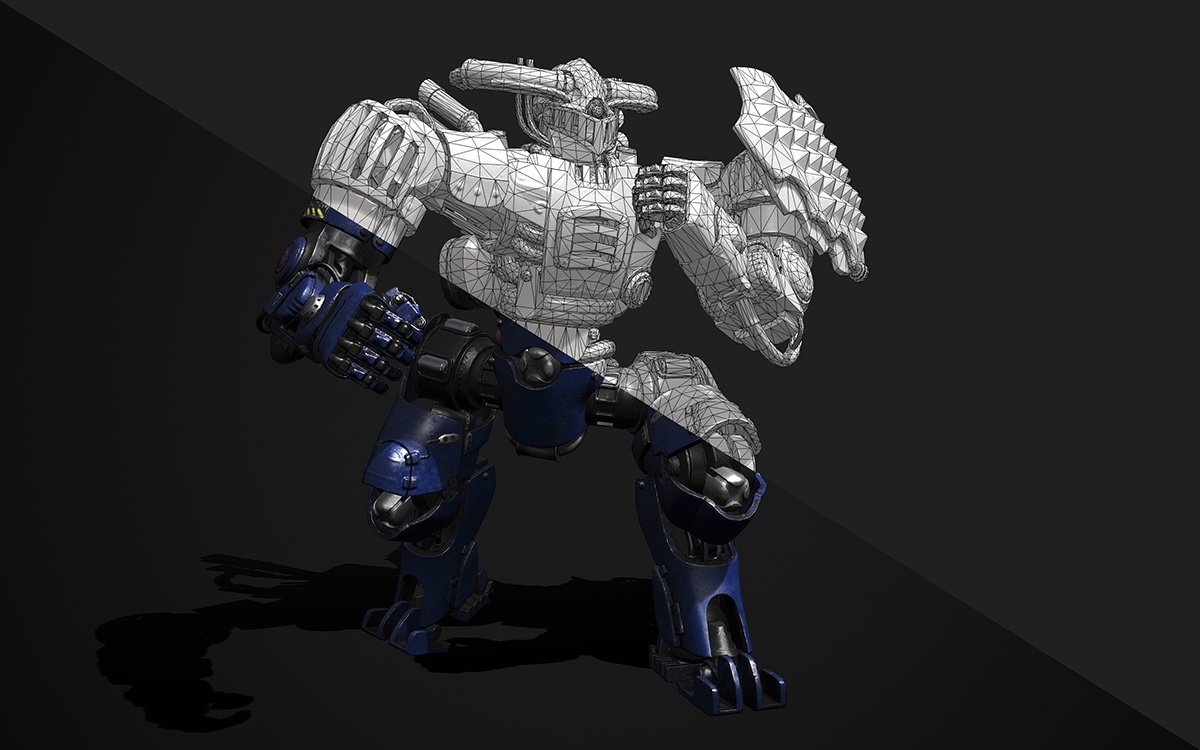
3D model texture mapping
Texture mapping is the stage of wrapping a 3D model with different types of texture maps: bump, normal, glossiness, roughness, metallic, and many others. The point of the practice is to make a flat image fit a 3D object that has volume and bulges in the way that each detail perfectly matches the proper spot on a model.
We recommend using bump mapping, which allows the model geometry to be quickly modified and filled in with the texture details. Texture mapping can be done in 3DS Max, as well as a 3D map in Photoshop.
You can learn more about detailed texturing with our selection of top tips for 3D content realism. Further, let’s take a look at some 3D model texture mapping software that will allow the achievement of flawless results.
The Best Software for Creating Amazing Textures
The most effective and convenient 3D texturing tools can usually be found in specific software. That’s why we have highlighted the two main programs for texturing 3D models that most game artists use.
How to texture 3D models in Blender
Texturing models in Blender is simple, as it has a wide and intuitive toolbar with the capability of UV unwrapping, texture painting, rendering, and texture mapping. You can even find the particular guide at Blender documentation on how to make 3D textures in Blender.
How to make textures for 3D models in Photoshop
Texturing 3D models in Photoshop is great for creating separate layouts, as well as a complete texture map. You can even download some free 3D textures for Photoshop and complete them with additional effects like lightning, shading, and rendering.
Besides, Adobe also has special documentation for 3D painting in Photoshop. When the desired texture map is finished, you can download it and wrap your model with it in Blender as an option.
Tips for Texturing Different 3D Model Types
There are different types of 3D models — characters, animals, and other assets. Each of them has particularities that should be taken into account while texturing. The information below will help you master the special features of the different model types.
Character texturing
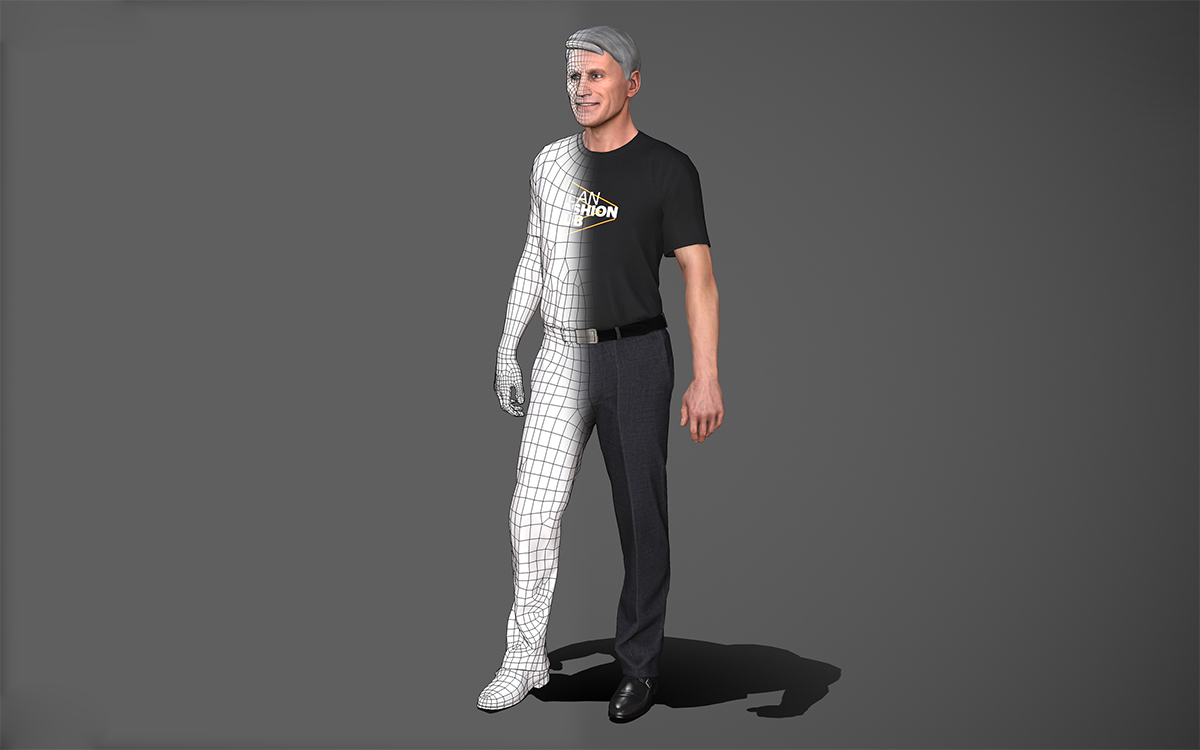
Most characters are human beings, so in this section, we will talk about the particularities of 3D human texturing. Usually, the model of a realistic character requires detailed texturing of each part of a body:
-
3D head texture. Each part of the head needs to be given separate attention. For example, the hair texture for the 3D model needs to be made smooth, similar to real hair.
-
3D face texture. When working on a 3D model face texture, it’s imperative to make it symmetrical. The UV map makes it possible to divide the face into lines and parts, so it is easier to make both halves of the mouth and nose, as well as both eyes of the same size, depth, and shape.
-
3D model skin texture. The process of skin texturing requires adding roughness, shades, and painting it with the appropriate color. You can also add some specific features like freckles, birthmarks, and scars.
Animal texturing
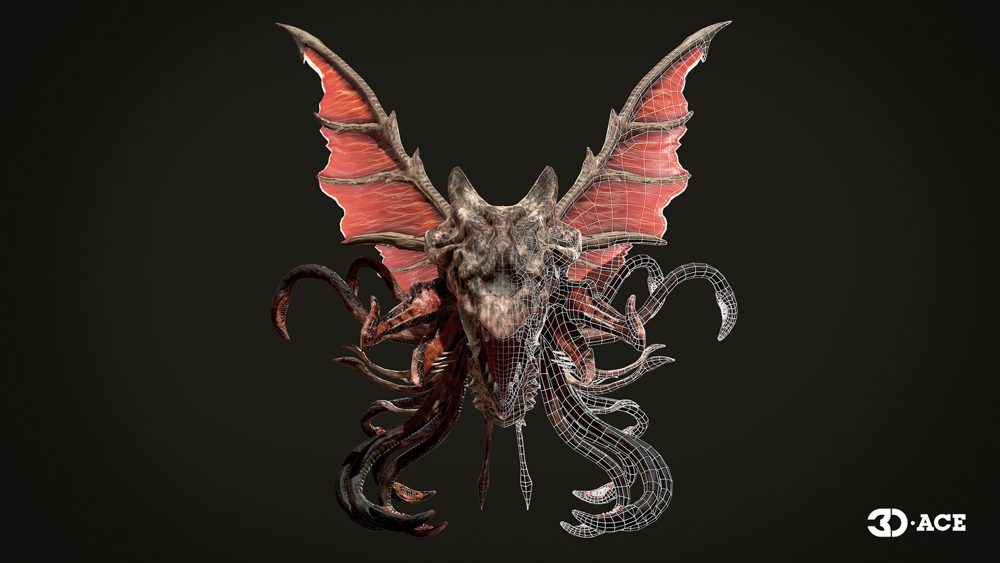
Below are some basic tips on how to make an animal texture for 3D models. First of all, before you start texturing your animal model, it’s better to prepare references for each kind of animal, as each of them requires different material:
-
reptiles are covered with specific skin and scales;
-
mammals can have both thick fur and short hair, and some are covered only with skin.
For each type, you need to create specific layers. For example, the texture of an elephant should be rough and without highlights, while the texture of a snake or alligator, on the contrary, should be smooth and reflect light.
Asset texturing
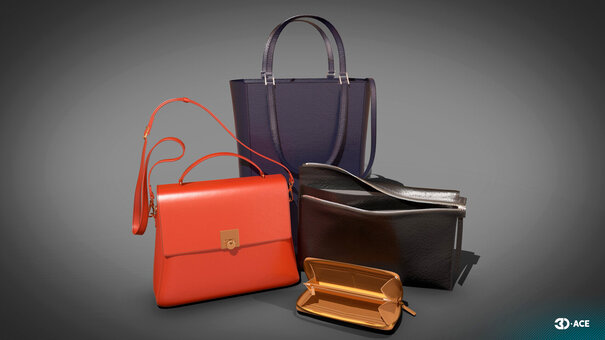
There are many forms of ready-made assets of objects, characters, and animals, but let’s focus on the main category we haven’t covered yet – items and props. Detailed assets of this category always look impressive and complement a digital environment, but it is not always worthwhile to devote too much time and attention to assets of little importance.
For example, an object can have a mechanical function or be a decoration. Some of them tend to remain in the background, so there is no point in detailing them to the point where features can only be seen with maximum zoom.
When texturing, it helps to focus on the distance of the subject from the camera, as well as the overall lighting solution, so that the asset looks harmonious in any environment.
Choosing the Best Partner with Texturing Services
As you can see, texturing 3D models is a time-consuming process that requires a deep understanding of the technical requirements, broad experience, and special skills. Only a high-qualified specialist can produce a detailed texture quickly and efficiently, so as not to spend extra funds from the budget, but at the same time attract more users to the product.
3D-Ace is an expert development studio that has been carrying out 3D projects of various scopes since 2009. We can provide you with all our resources and experience gained over years and complete your project in the most optimal time frame.
The core of our expertise lies in everything related to 2D and 3D design, so you can get a separate service like texturing or modeling, but also outsource your whole project to us.
We invite you to contact us to get a detailed consultation and discuss the future of your successful project!