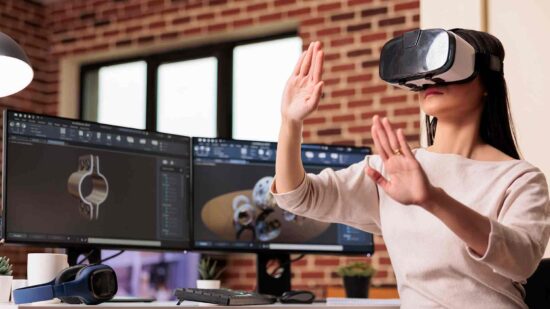
3D modeling services provide the structure for digital content creation across industries that require accurate and ready-to-use visuals. Businesses rely on these services to develop assets for gaming, film, architecture, product design, and marketing. Polygonal modeling remains the most widely used method because it provides artists with complete control over geometry and resolution.
Tools such as Blender, Maya, 3ds Max, Substance 3D Modeler, and ZBrush enable artists to build accurate meshes, apply textures, and prepare assets for production pipelines. Key steps, including blocking, extrusion, subdivision, and refinement, ensure control over surfaces and structure. Businesses gain value from a streamlined workflow that reduces production time while achieving consistent quality.
Dependable 3D modeling services help teams create scalable projects with assets suitable for presentations, simulations, or game engines. By prioritizing precision and usability, these services deliver results that meet professional and commercial standards.
Introduction to Modern 3D Modeling
Modern 3D modeling represents a core stage of digital production across entertainment, engineering, marketing, and manufacturing. Businesses increasingly integrate 3D modeling services into their workflows to create accurate assets for different platforms.
Artists use specialized software to build models for real-time engines, high-end rendering, and simulation tools. Methods like polygonal modeling, sculpting, and spline modeling allow teams to match technical requirements while maintaining quality. Companies investing in 3D modeling reduce production cycles and achieve consistent results across projects.
Overview of 3D Modeling in Creative Industries
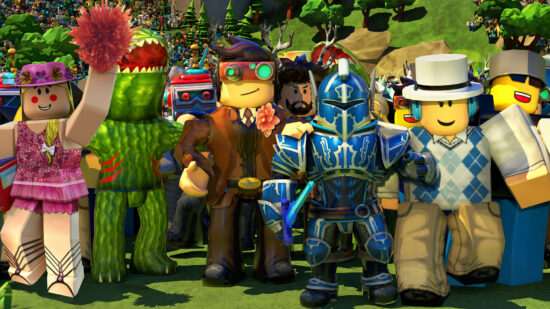
3D modeling techniques in games influence workflows across multiple sectors. Teams often adopt the same practices in film, advertising, and industrial design because of their proven efficiency. Successful modeling pipelines rely on software combinations and careful planning.
Key elements shaping workflows:
- Game-focused pipelines. Artists prioritize low-poly optimization for real-time rendering while maintaining visual quality.
- Film and advertising workflows. Studios push for ultra-high resolution models, advanced shaders, and detailed textures.
- Cross-industry applications. Architects, engineers, and product designers reuse gaming techniques to achieve accuracy and realism.
- Standardized methods. UV mapping, subdivision levels, and consistent topology support flexible asset reuse.
Businesses often select providers experienced in gaming because they can deliver scalable assets that meet strict deadlines. Modeling techniques developed for one industry frequently set performance and detail standards for another.
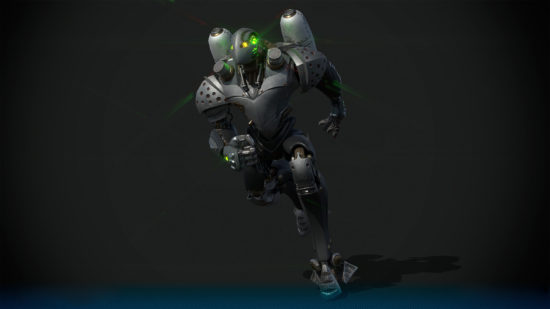
Importance of Polygonal Models for Games and Film
Polygonal models dominate because they are adaptable, widely supported, and compatible with every major rendering engine. Artists can fine-tune edge flow and mesh density to match the needs of each project.
Benefits for production teams:
- Control. Topology adjustments improve rigging and animation precision.
- Scalability. Low-poly and high-poly options support mobile games and cinematic content.
- Consistency. Procedural texturing, shader creation, and baking workflows rely on clean meshes.
- Collaboration. Polygon-based geometry simplifies asset exchange across teams and platforms.
Studios producing games, films, or immersive experiences favor polygonal modeling for its balance of flexibility and predictability. A single asset can move from concept to engine integration without rework, reducing costs and time spent on revisions.
Core Polygonal 3D Modeling Techniques
Polygonal modeling remains the foundation of modern asset creation due to its balance of precision and flexibility. Artists use polygons to build models that meet technical requirements while staying visually accurate. The method supports real-time rendering, cinematic production, and rapid iteration for commercial projects. Understanding its core principles helps businesses choose the right modeling pipeline.
Definition of Polygons, Vertices, and Meshes
Polygonal modeling relies on three core elements that define all 3D models. Every object is made of vertices, which are points in space connected by edges to form polygons. Together, polygons create a mesh, which is the structure of the model.
The types of 3D modeling widely applied in production:
- Polygonal modeling. Uses vertices and polygons for controllable geometry.
- NURBS modeling. Employs mathematical curves for precision surfaces, often used in manufacturing and CAD.
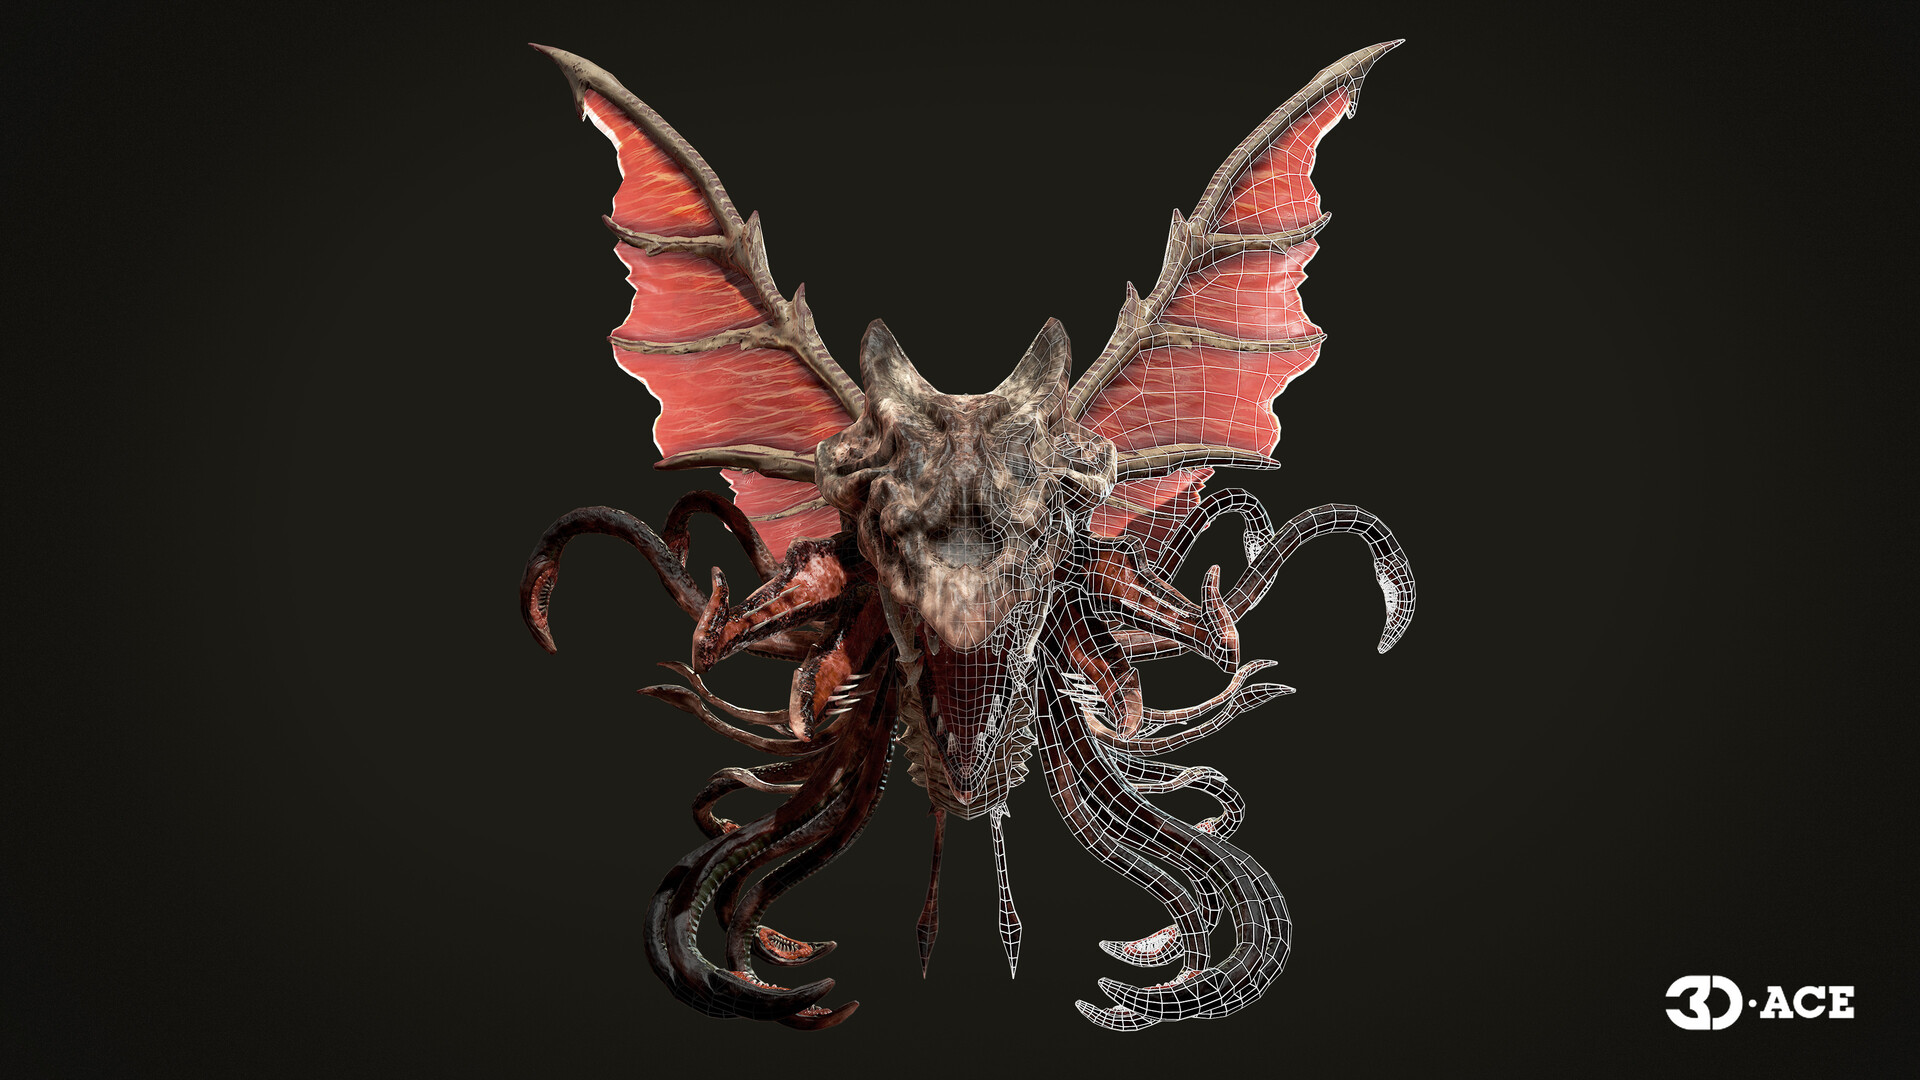
- Sculpting. Allows high-resolution detailing, favored for organic models and film characters.
- Spline modeling. Builds objects from curves and control points, suitable for smooth shapes.
- Procedural modeling. Generates models algorithmically for efficiency and scale.
A clear understanding of these elements helps artists switch between workflows as needed. Clean topology, accurate edge placement, and organized geometry make assets easier to texture, animate, and optimize.
Strengths and Limitations of Polygonal Modeling
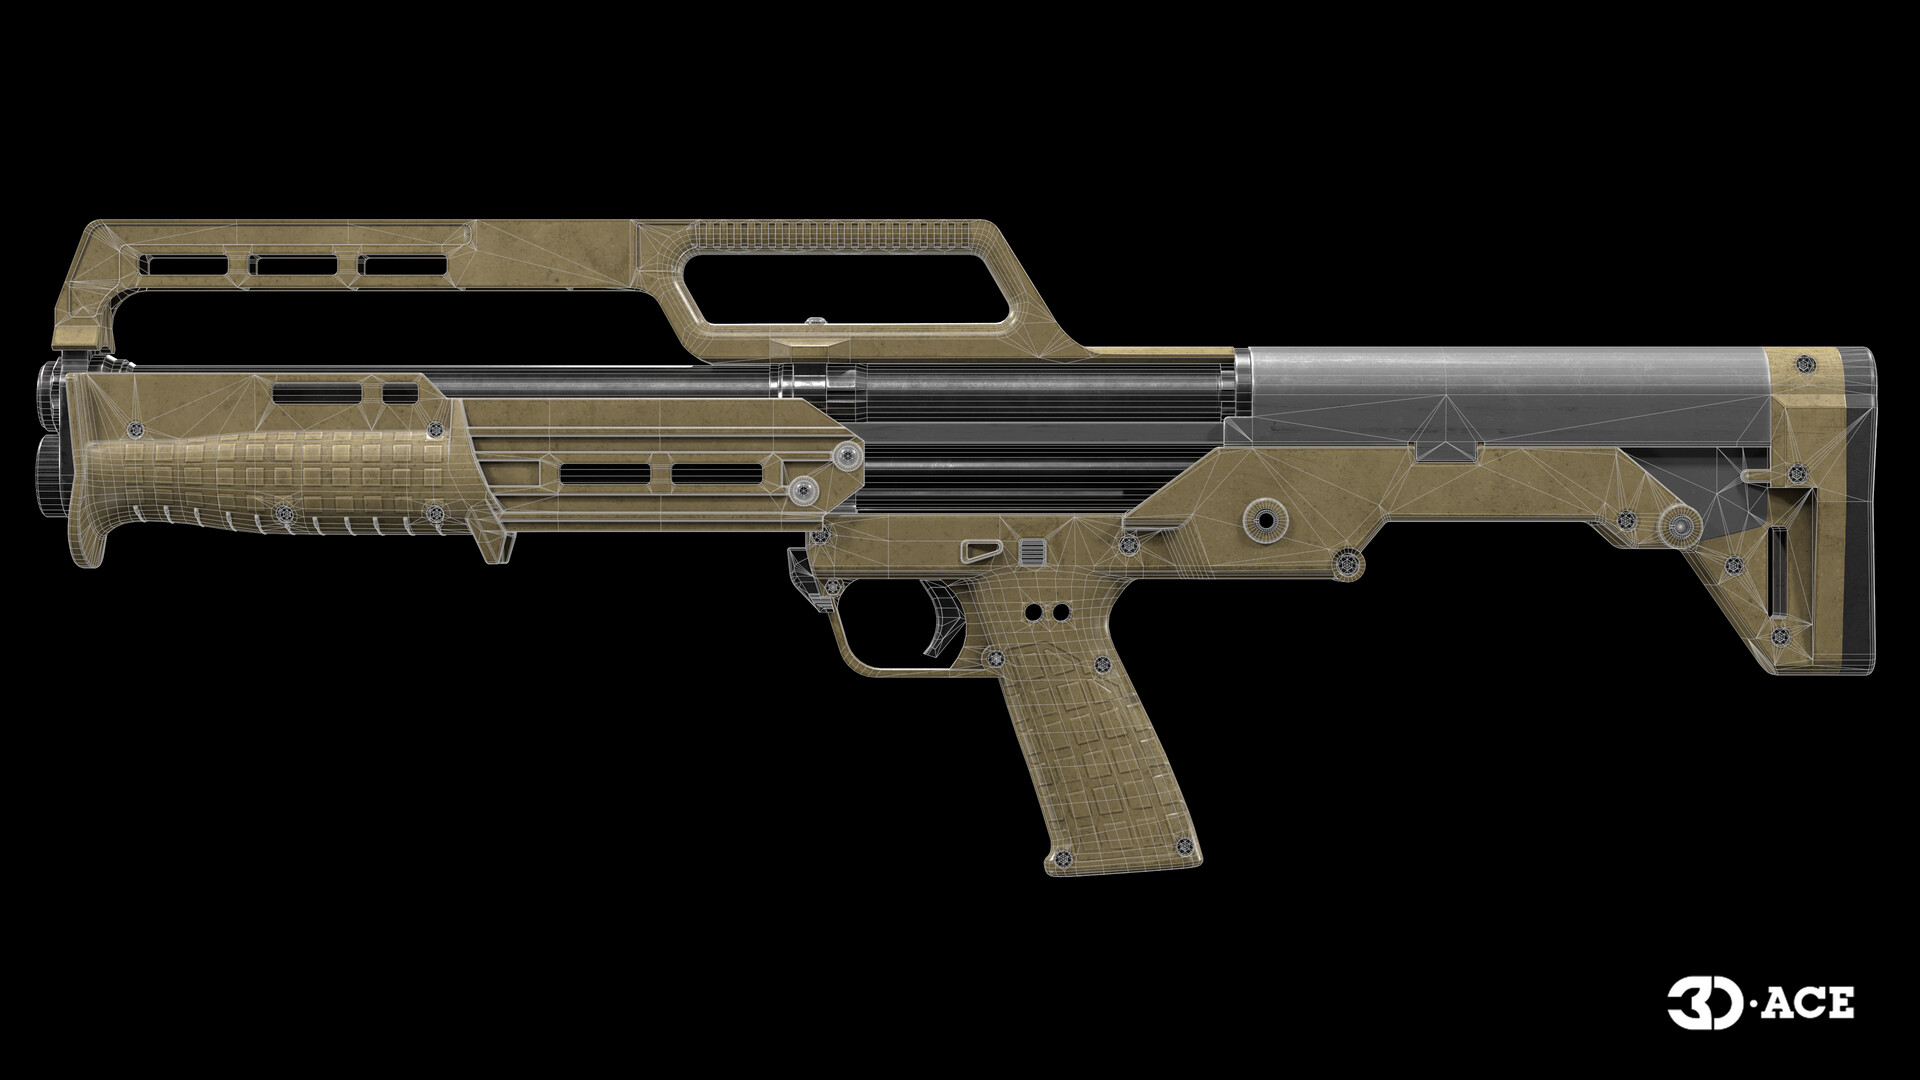
Choosing polygonal modeling provides predictable results, but it also comes with constraints that affect production. Game studios and film creators rely on it because it integrates well with texturing tools, rigging systems, and real-time engines.
Advantages of polygonal modeling:
- Flexibility. Compatible with nearly every 3D software and game engine.
- Precision. Artists can edit vertices and edges individually.
- Performance optimization. Geometry can be simplified for faster rendering.
Challenges to consider:
- High poly counts. Detailed models require large numbers of polygons, which can slow performance.
- Manual workload. Complex models demand careful edge flow planning.
- Faceting issues. Large polygons create visible edges without smoothing or subdivision.
Studios address these challenges through subdivision techniques, baking workflows, and detailed planning, ensuring assets remain visually appealing and technically efficient.
For top-notch 3D modeling techniques, get in touch with our team!
Box Modeling Foundations
Box modeling is a widely used approach for shaping 3D models from simple geometric forms. Artists start with a primitive cube, cylinder, or sphere and refine it step by step, adding detail while keeping control over the structure. The technique is efficient for both concept modeling and production-ready assets.
Why Box Modeling Is a Starting Point for Artists
Artists often choose box modeling at the early stages of production because it allows a controlled, gradual workflow. A model begins as a simple primitive, which is extruded, subdivided, and adjusted until the desired form emerges.
Reasons for its popularity:
- Predictable process. Artists can maintain control over edge flow and proportions from the start.
- Time efficiency. Simple primitives make it faster to block out shapes.
- Ease of learning. Beginners understand modeling principles quickly through this approach.
- Flexibility. Works well for hard-surface models like furniture, vehicles, and architectural elements.
- Seamless integration. Complements sculpting or procedural workflows for more detailed results.
Studios often rely on box modeling when developing assets for games or films because it balances speed with precision, making it ideal for scalable projects.
Benefits of Low-Resolution Primitives
Low-resolution primitives play a critical role in shaping efficient and realistic models. By starting with fewer polygons, artists gain more control over the model’s structure and ensure easy optimization for different platforms.
Here are some practical answers to the question of how to make realistic 3D models with low-resolution bases:
- Focus on the silhouette. Begin with a clean, recognizable outline before adding details.
- Plan topology early. Align edge flow to future deformations, like bending or animation.
- Incremental detailing. Add subdivisions selectively to avoid unnecessary geometry.
- Efficient texturing. Use texture maps and normal maps to add realism without heavy geometry.
- Consistent scaling. Match proportions with real-world measurements for accuracy.
Low-resolution primitives simplify iteration and speed up reviews, which is essential for projects requiring frequent updates. Teams can deliver realistic results faster by combining thoughtful planning with texture-driven detail.
Extrusion for Shape Building
Extrusion is a core 3D modeling process that allows artists to extend geometry from selected faces or edges. By creating new connected polygons, it becomes possible to form complex shapes quickly while maintaining mesh integrity.
How the Extrude Tool Works in 3D Software
Most 3D software packages include an extrude function as part of their basic toolset. The process begins with selecting a polygon, edge, or vertex and extending it outward or inward, generating additional geometry connected to the original surface. Artists can adjust the extrusion distance, angle, and scaling in real time.
Core steps of extrusion:
- Select geometry. Choose a face, edge, or vertex as the starting point.
- Apply extrusion. Extend the geometry along an axis or custom direction.
- Adjust placement. Move, rotate, or scale the extruded part for the desired shape.
- Refine topology. Ensure edge flow supports animation and surface smoothing.
Software like Blender, Maya, and 3ds Max offer precise controls, making extrusion a foundational step for creating models that are ready for rigging and rendering.
Extruding Simple Shapes to Build Complexity
Artists often start with a simple geometric object and develop detail through repeated extrusion. A cube can become a building, a pyramid can form the base of a staircase, and a flat plane can evolve into mechanical components. Extrusion enables fast iteration without switching tools.
Example workflows:
- Architectural assets. Extruding faces from a base block creates windows, doors, and structural depth.
- Furniture design. A single primitive shape evolves into chairs or tables by extending sections.
- Game props. Low-poly assets can be shaped quickly for prototyping environments.
Studios favor extrusion because it offers precision and flexibility. Combined with subdivision, it helps artists transform simple meshes into optimized production models with consistent geometry.
Edge Extrusion for Contour and Detail
Edge extrusion is a specialized technique that focuses on shaping outlines and contours. Instead of pulling faces, artists extend edges to trace complex shapes or build curved surfaces. The process supports contour modeling for characters, vehicles, and decorative assets.
| Edge Extrusion Use Case | Benefit |
| Character outlines | Accurate control over body proportions. |
| Vehicle bodywork | Smooth curves with minimal geometry. |
| Organic objects | Clean topology for sculpting or rigging. |
| Hard-surface assets | Precision in mechanical parts and seams. |
Modelers use edge extrusion early in a project to establish proportions before filling in faces. Such an approach is essential for workflows that require precise outlines, such as game characters or industrial design models.
Subdivision for Smooth Surfaces
According to the Blender 4.5 LTS Manual, subdivision is a technique used to increase mesh resolution by dividing faces into smaller segments. It helps create smoother surfaces while keeping the model structure easy to control. Artists apply subdivision at various stages of modeling to prepare assets for sculpting, rendering, or animation.
Principles of Subdivision and Surface Refinement
Subdivision works by breaking each polygon into smaller faces, creating a smoother appearance without altering the model’s original shape. It allows artists to work efficiently with low-resolution meshes and then refine details as needed.
The essential practices include:
- Starting simple. Models begin with a low-poly mesh for easier adjustments.
- Incremental resolution. Subdivision is applied in controlled steps to avoid unnecessary geometry.
- Topology awareness. Clean edge loops and quads ensure smooth results.
- Non-destructive workflow. Most software supports subdivision modifiers, letting artists toggle between low and high resolution.
Surface refinement often combines subdivision with manual vertex adjustments. Artists push or pull vertices to enhance proportions and maintain structural accuracy. By alternating between subdivision and manual shaping, teams achieve models ready for texturing and animation.
Uniform vs. Selective Subdivision Techniques
| Technique | Definition | When to Use | Key Benefit |
| Uniform subdivision | Divides the entire mesh evenly, adding the same number of faces to every polygon. | Ideal for assets that require consistent smoothing across all surfaces. | Guarantees even detail and predictable edge flow. |
| Selective subdivision | Focuses on specific areas by adding edge loops or subdividing only certain faces. | Best for eyes, lips, joints, or small mechanical parts. | Reduces poly count while adding precision where needed. |
| Hybrid method | Combines both approaches to keep sharp edges while smoothing other areas. | Useful for models mixing hard-surface and organic features. | Balances performance with quality and flexibility. |
Combining Edge Loops with Subdivision
Adding edge loops strategically before subdivision improves surface quality and edge sharpness. Edge loops define key areas of detail, such as facial features or seams, without overloading the entire mesh with unnecessary polygons.
Practical applications:
- Character modeling. Edge loops around eyes and mouths support realistic animation.
- Hard-surface modeling. Placing loops near sharp corners preserves crisp geometry.
- Rigging preparation. Correct edge flow ensures deformation without stretching textures.
- Detail control. Artists can emphasize or soften features without major rework.
Combining subdivision with targeted edge loops creates high-quality models that remain efficient for rendering and animation.
Beveling and Chamfering Edges
As Autodesk 3ds Max guidelines suggest, beveling and chamfering are techniques used to soften sharp edges and improve realism in 3D models. By slightly rounding or cutting edges, artists create surfaces that better reflect light and appear more natural.
The Role of Edge Softening in Realism
Perfectly sharp edges rarely exist in physical objects, so models with unmodified edges often appear artificial. Beveling or chamfering adjusts these areas, creating subtle highlights and improving the model’s overall appearance. The technique also helps prevent shading artifacts in rendering, which often occur when light interacts with sharp geometry.
Key considerations:
- Material simulation. Rounded edges mimic wear and tear seen on real surfaces.
- Render optimization. Proper edge softening creates natural light reflections without relying heavily on texture.
- Game development. Low-resolution models use small bevels to add detail without increasing polygon counts.
- Manufacturing accuracy. Product prototypes match physical production tolerances with precise edge adjustments.
Studios prioritize edge refinement to ensure assets look convincing across different environments and maintain realism under various lighting conditions.
Differences Between Bevels and Chamfers
| Feature | Bevel | Chamfer |
| Definition | A surface created between two faces at an angle that is not 90 degrees. | A straight edge cut connecting two lines or faces, typically symmetrical at 45 degrees. |
| Shape | Can be curved or straight depending on design needs. | Always straight, with equal distance from each face. |
| Purpose | Adds visual interest and realistic highlights. | Simplifies edges and maintains geometric precision. |
| Use cases | Decorative assets, organic surfaces, complex props. | Mechanical parts, technical models, and hard-surface assets. |
| Impact on topology | Creates more geometry, useful for close-ups. | Creates minimal geometry, suitable for optimization. |
Refinement and High-Detail Modeling
Refinement is the final stage of modeling where every vertex, edge, and face is carefully adjusted to achieve professional standards. Artists focus on precision, adding realistic details while keeping performance needs in mind.
Vertex Adjustment and Surface Sculpting
Vertex adjustment gives artists direct control over the model’s geometry. Each vertex can be moved to refine shapes, correct proportions, and maintain clean edge flow. Software like Blender, Maya, and ZBrush provides sculpting tools that simplify this process and allow for organic modeling.
The advantages:
- Accuracy. Fine-tuning vertex placement guarantees structural correctness.
- Shape refinement. Smooth transitions between surfaces enhance realism.
- Animation readiness. Clean geometry supports deformation without stretching.
- Flexibility. Artists can switch between sculpting and polygon editing seamlessly.
Sculpting is widely used for creating characters, creatures, and props that require intricate surface detail. Combining vertex-level adjustments with subdivision levels provides artists with the freedom to create assets that appear accurate from any viewing angle.
Manual Refinement for Photorealistic Results
Manual refinement is essential for achieving lifelike visuals. Artists rely on iterative adjustments to ensure that every surface reflects light naturally and aligns with reference material. Unlike automated techniques, this stage involves deliberate choices that elevate asset quality.
Core practices for photorealism:
- Reference alignment. Artists match proportions with real-world measurements.
- Texture-ready geometry. Models are optimized for UV mapping and material application.
- Edge definition. Subtle changes to edge sharpness enhance visual fidelity.
- Surface imperfections. Minor irregularities are added for authenticity.
Studios invest time in manual refinement because it determines the final presentation quality. Accurate modeling combined with advanced textures and lighting creates assets that meet industry demands for realism in marketing visuals, film effects, and next-gen games.
Balancing Detail and Performance
Efficient modeling relies on balancing visual quality with rendering speed. Artists decide between high-poly and low-poly workflows depending on project goals, target platforms, and hardware capabilities. Proper optimization ensures models meet deadlines without sacrificing essential details.
High-Poly vs. Low-Poly Considerations
High-poly and low-poly models serve different purposes in production, and selecting the right approach affects performance, cost, and scalability.
| Aspect | High-Poly Models | Low-Poly Models |
| Purpose | Used for cinematic shots, marketing visuals, and 3D printing. | Designed for games, VR, AR, and real-time engines. |
| Detail level | Millions of polygons for photorealistic surfaces. | Minimal geometry with baked textures and maps. |
| Performance impact | Heavy load on rendering hardware. | Lightweight, supports smooth real-time playback. |
| Workflow | Requires sculpting and advanced hardware. | Easier to edit and faster to export. |
| Use case | Film assets, product visualization, character design. | Mobile games, VR apps, interactive environments. |
Strategies for Optimized Assets
Optimization is a core part of modeling pipelines and ensures assets are scalable across devices. Teams adopt a combination of geometry simplification, texture workflows, and planning.
Proven techniques for optimization:
- Retopology. Rebuilding meshes for a cleaner, lower polygon count.
- Texture baking. Capturing high-poly details in normal, AO, and displacement maps.
- Modular assets. Creating reusable parts to reduce production time.
- Level of detail (LOD). Using simplified models at greater distances to boost performance.
- Efficient UV mapping. Maximizing texture space to avoid wasted resources.
Studios integrate optimization into every step to ensure assets maintain quality while performing efficiently in engines like Unity and Unreal Engine.
Beyond Polygons: Spline and NURBS Modeling
Spline and NURBS modeling provide mathematical precision for shapes that cannot be achieved easily with polygons. These workflows are widely used in industries that demand high accuracy, such as automotive design, engineering, and product manufacturing. They complement polygonal modeling by offering advanced control over curves and surfaces.
Introduction to Spline-Based Workflows
Spline modeling uses curves defined by control points, allowing artists to create smooth surfaces with minimal geometry. NURBS (Non-Uniform Rational B-Splines) builds upon this principle by enabling mathematically perfect curves and surfaces. Unlike polygonal workflows, spline modeling focuses on surface continuity rather than individual vertices.
Some workflow features:
- Precise curves. Ideal for complex mechanical or industrial objects.
- Parametric editing. Surfaces can be adjusted without rebuilding geometry.
- Efficiency. High-quality models are created with fewer control points.
- Integration. Compatible with CAD tools for engineering and manufacturing.
Spline workflows are often used in pre-production stages to define accurate models before converting them into polygon meshes for animation or rendering pipelines.
Advantages and Use Cases for Splines
| Benefit | Practical Application |
| Perfect surface smoothness | Automotive and aerospace models where precision is essential. |
| Lightweight data | Product design, allowing easy adjustments during development. |
| High accuracy | Architectural elements requiring exact measurements. |
| Fewer control points | Industrial design where efficient file sizes matter. |
| Seamless integration | Manufacturing workflows using CAD-based modeling. |
Spline and NURBS modeling are not always ideal for games or film, as these industries favor polygons for compatibility with animation tools. However, they are critical for engineering projects and pre-visualization work, where precision outweighs artistic freedom.
Tools and Software for Polygonal 3D Modeling
A wide selection of software supports polygonal modeling, making it easier for studios to create assets for games, film, and product design. Character 3D modeling in particular relies on platforms that combine sculpting, rigging, and rendering features. Choosing the right toolset improves production efficiency and consistency across teams.
Popular Platforms for Creative Professionals
Studios use a mix of specialized applications to meet different modeling needs. Some tools excel at hard-surface modeling, while others are preferred for organic shapes and character creation.
Leading platforms used across industries:
- Blender. Open-source and versatile for modeling, sculpting, and animation.
- Autodesk Maya. Industry-standard for games and film with advanced rigging tools.
- 3ds Max. Strong for architectural visualization and hard-surface modeling.
- ZBrush. Sculpting software focused on ultra-high detail for characters and props.
- Cinema 4D. Preferred for motion graphics and quick modeling workflows.
- Modo. Lightweight software for fast polygonal modeling and concept design.
Teams often combine multiple platforms in a single pipeline, allowing them to leverage each tool’s strengths depending on asset type.
Integration with Texturing and Rendering Pipelines
Seamless integration between modeling, texturing, and rendering tools ensures faster production and consistent quality. Artists move assets between programs without losing detail or topology integrity.
Essential integration practices:
- UV unwrapping compatibility. Properly prepared models simplify texture workflows.
- Non-destructive editing. Modifiers and procedural tools preserve flexibility.
- Rendering engines. Cycles, Arnold, V-Ray, and Redshift support accurate lighting and material simulation.
- Texture software links. Substance 3D Painter and Designer connect directly with modeling platforms.
- Real-time previews. Plugins provide instant feedback for changes in materials or geometry.
Studios prioritize robust pipelines that reduce rework and support assets for both offline rendering and game engines. Effective integration improves collaboration between modeling, shading, and lighting teams.
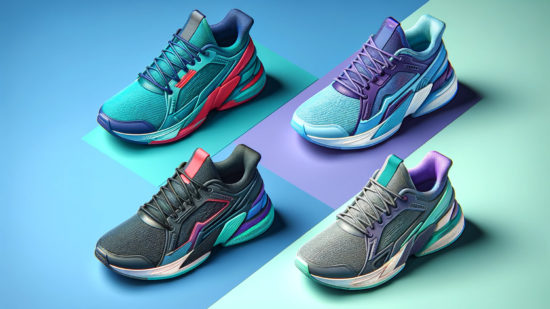
Practical Applications for Businesses
3D modeling supports industries where accuracy and visual impact are crucial. Companies use it for 3D environment design, interactive experiences, and product visualization. Models created for one platform often adapt to multiple uses, reducing costs and production time.
Game Development and Interactive Media
Studios rely heavily on 3D modeling to create game environments, characters, and props. Assets are optimized to run efficiently on consoles, PCs, and mobile devices without losing quality.
Applications in interactive media:
- Environment creation. Artists design realistic or stylized levels to match game mechanics.
- Character pipelines. High-resolution models are sculpted, retopologized, and rigged for animation.
- Props and vehicles. Low-poly workflows speed up asset production for large scenes.
- VR and AR content. Lightweight models ensure smooth performance on headsets.
- Cutscene production. High-detail assets enhance cinematic sequences and marketing material.
Companies delivering interactive content benefit from reusable assets, as models created for games often appear in promotional materials, merchandising, and immersive experiences.
Visualization for Architecture and Product Design
3D modeling is critical for presenting projects before production or construction begins. Accurate visualization allows teams to test proportions, materials, and functionality early.
Some uses in these sectors:
- Architectural visualization. Models of buildings and interiors help investors and clients understand design concepts.
- Product prototypes. Digital assets reduce the need for physical samples, saving time and resources.
- Material previews. Realistic textures and lighting simulations show fabric, wood, and metal finishes.
- Marketing visuals. Rendered images and animations support branding and sales campaigns.
- Interactive demos. Clients explore products in VR or AR before manufacturing.
3D modeling provides measurable benefits by streamlining approvals, cutting costs, and improving communication between designers, manufacturers, and stakeholders.
Take Your 3D Worlds to the Next Level with 3D-Ace
Partnering with a trusted 3D modeling company ensures projects meet the highest standards for quality and efficiency. 3D-Ace delivers custom modeling services for gaming, film, architecture, and product visualization, supporting businesses with scalable solutions and expert-driven pipelines. Teams create accurate assets tailored for real-time engines, cinematic rendering, or manufacturing needs.
Why choose 3D-Ace:
- Industry expertise. Over a decade of delivering models for multiple sectors.
- Flexible solutions. Support for both low-poly and high-poly workflows.
- End-to-end services. From concept to texturing, rigging, and rendering.
- Global clients. Trusted by companies worldwide for precision and reliability.
Contact us today to discuss your next project, explore customized workflows, and receive a consultation from our specialists.